In the previous chapter, you have created an HTML template for the component. Here, you will learn HTML template in detail.
HTML template is nothing but a regular HTML code with additional Angular specific syntax to communicate with the component class.
HTML Template = HTML + Angular Bindings and Directives.
Angular API interprets an HTML template of a component, generates the HTML and render it.
You can create an HTML template in a component in two ways:
- Inline Template
- Linked Template
Inline Template
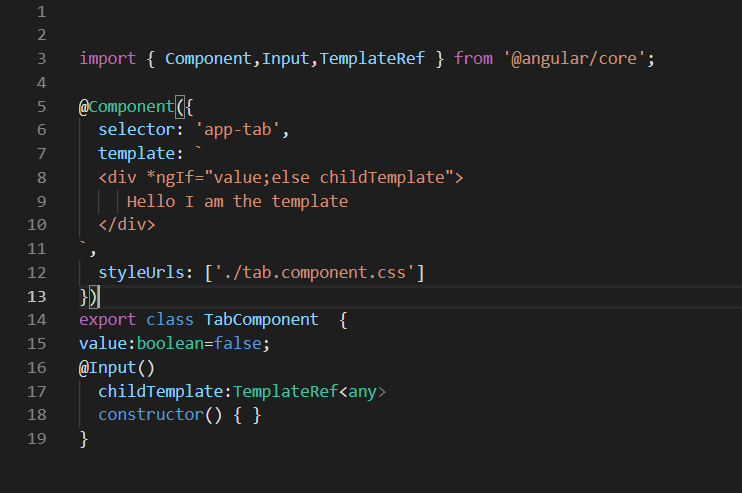
An inline HTML template for a component is defined using template config in @Component decorator, as shown below.
It can be a single line template wrapped inside double quotes or single quotes.
@Component({
    selector: "app-greet",
    template: "Enter Your Name: <input value={{name}} />"
})
It can also be a multi-line template wrapped inside backticks char `.
@Component({
    selector: "app-greet",
    template: `<div>
    Enter Your Name: <input type="text" value={{name}} /> <br/>
    <button (click)="greet()">Greet Me!</button>
    </div>`
})
Linked Template
A component can have a separate HTML file to include an HTML template of a component. Use the templateUrl parameter to declare the path of the HTML template file, as shown below.
@Component({
    selector: "app-greet",
    templateUrl: "./mycomponent.component.html"
})
It is a best practice to have a separate .html file for a template. It will be easy to work with HTML tags and also maintain it.
SVG in HTML Template
A component can also use the SVG file as a template file.
@Component({
  selector: 'app-svg',
  templateUrl: './draw.component.svg',
  styleUrls: ['./draw.component.css']
})


 5 Ways to Get Post ID in WordPress